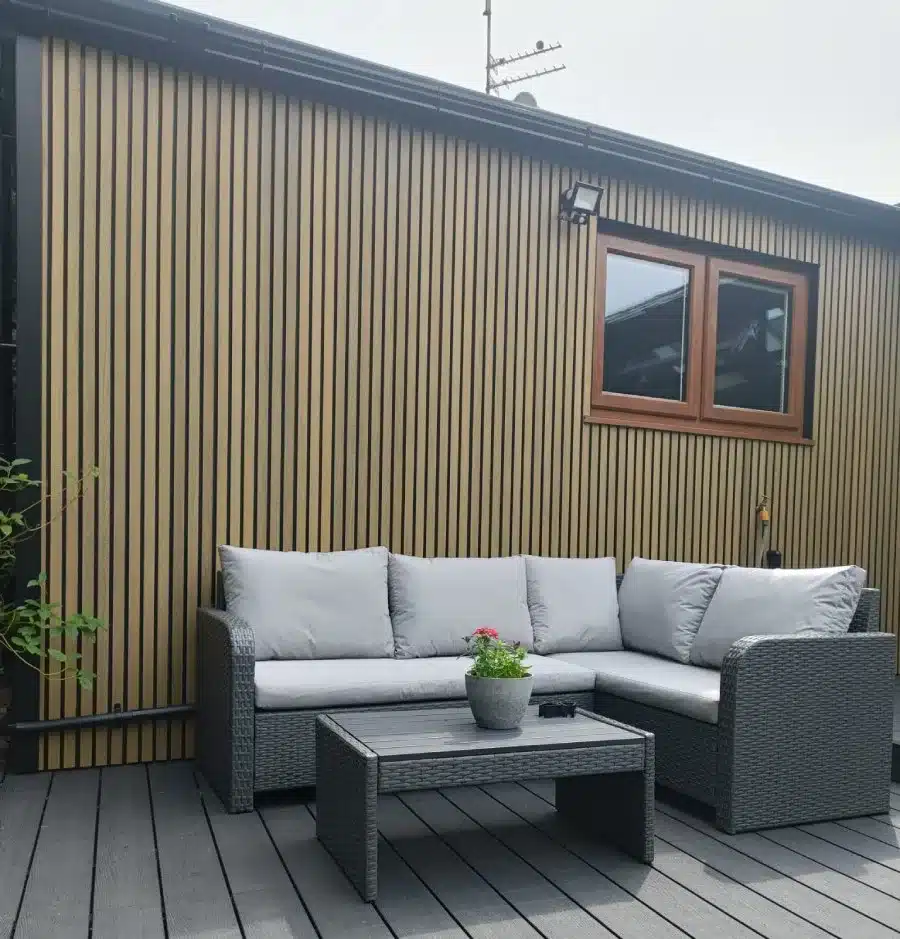
Cladding is a crucial element of your home’s exterior structure. Historically designed purely for weatherproofing, modern cladding ranges provide better insulation and dramatically enhance the beauty, style, and visual appeal of your home. The most important benefit, however, is the preservation of your home’s structural integrity and the potential to increase its property value.
To maximise these benefits, correct installation is vital, and mistakes here can be costly in the long run. Composite cladding, unlike wood, has specific requirements regarding heat expansion and structural support.
To help our customers see the full longevity of their cladding, this guide provides all the necessary installation techniques to ensure success. We have broken this process down into 6 clear phases, providing expert tips on battens, expansion gaps, and those final finishing touches.
Section 2: Subframing the Surface
Cladding is not designed to be attached directly to a flat wall. A suitable, solid subframe must be installed first to allow for appropriate airflow and moisture drainage.
Protecting the Wall Surface:
- Clear your installation area of debris and obstructions.
- Install a Waterproof or Breathable Membrane onto your wall before screwing in your battens. This protects the timber stud work and provides insulation.
- Alternatively, you can apply a liquid Damp Proof Membrane (DPM) to the wall or opt to use batten/joist tape.
Securing the Battens:
Battens are the ‘skeleton’ for your cladding; accurate measurements here are vital. Both timber and composite battens can be used; however, treated timber is often recommended for greater subframe longevity.
- Install the battens in the opposite direction to how your cladding will sit (e.g., if cladding is horizontal, battens must be vertical).
- Position each batten at 300mm centres (measuring from the centre of one batten to the centre of the next) to provide adequate support across the board.
- Leave a gap of 20-25mm from the ground when installing each batten. This prevents moisture from soaking up into the wood (wicking), decreasing the risk of rot and subframe damage.
- If the ends of two cladding boards will meet, an additional batten must be installed so that both board ends are supported properly.
Expert Tip: Cut composite material slower than you would timber. This prevents the friction from melting or burning the exposed plastic surface and separating the layers.
Section 3: Starter Clipping Your First Row:
Installing the first row of cladding accurately is critical for providing symmetry and support. If the placement of the first board is even slightly off the mark, the margin of error will grow as you move up the wall.
- Position your Starter Clips at the bottom of the battens. A gap of 25mm should be left from any fixed objects (such as the floor or ledges) to create room for airflow and expansion.
- Mark and pre-drill the batten.
- Screw the starter clip in place.
- Using a string line or long spirit level, ensure every clip is perfectly aligned horizontally across the wall before fully tightening.
Section 4: Fixing The Composite Cladding Boards:
With the substructure ready and secure, you can begin fixing the boards.
- Cut Your Boards Measure your boards twice to ensure accuracy before cutting. Remember to cut slowly for smooth edges.
- Place the First Board Carefully slot the first board onto the fixed starter clips. Use a spirit level to check it is perfectly straight, making any necessary adjustments before moving on.
- Fix it in Place
- Mark your fixing groove on the board and pre-drill all necessary holes. This prevents the composite material from splitting.
- Secure the board to your batten posts with suitable screws (provided with your hidden fasteners/starter clips).
- Ensure the screw heads sit completely flush in the groove so they do not obstruct the next board.
- Avoid overtightening. A board screwed too tightly restricts natural thermal movement, causing damage or warping in the future.
Shiplap" Docking:
Slot in your second board layer. Each board features a “Shiplap” tongue-and-groove insert, allowing you to seamlessly secure it into the previous layer. Make sure any joining board ends line up perfectly at the centre of a batten for maximum support.
Section 5: Expecting Expansion:
Composite material expands and contracts with changes in temperature. Failing to prepare for this process can “make or break” your entire project.
- Where two ends of the boards meet, leave a minimum expansion gap of 6mm. Never butt them tightly together; when they expand in the sun, they will warp and buckle against each other.
- Maintain a 25mm gap from floors, ceilings, or side walls.
- Ensure the ventilation cavity created by the battens remains completely clear. Remove anything that risks obstructing this airflow (such as debris or insulation wool) to prevent trapped moisture.
Section 6: Adding Finishing Touches – Corner Trims:
To achieve a premium, professional installation, use L-shaped corner trims to hide any cut edges or expansion gaps. The two most common fixing options are:
- Option A: Screw Fixing: Pre-drill screw holes into the bottom of the battens, fixing the trim directly to them.
- Option B: Adhesive: If screwing is not possible, use a high-strength outdoor glue like Sumo-Grip to adhere the inside corner of the trim to the base of the project.
Expert Tip for Sumo-Grip Adhesive:
Follow this method to ensure your trims stay securely adhered without falling off:
- Sand the inner edge of the trim (the side fixing to the cladding). This creates a rough, dry key for the glue to strongly bond to.
- Cut the cartridge nozzle at a 45-degree angle to your desired bead thickness and load it into the gun.
- Apply the adhesive to the sanded edge in vertical beads, avoiding overspill to the outer surface.
- Quickly apply the trim to the cladding surface using a slight twisting action to ensure maximum surface area contact.
- If you can visibly see the sealant, use a soapy solution to smooth it out before it skins over.
- Clean up any overspill immediately with a cloth while it is still wet.
- Allow the glue to cure for at least 48 hours, clamping or taping it in place for the best hold.
Final Installation Checklist
- Have the composite boards been allowed to acclimatise for 48 hours in the project environment?
- Are your battens spaced at exactly 300mm centres?
- Have you left a 25mm airflow gap from the base of your battens to the floor/ground?
- Is there a 6mm expansion gap between every board end?
- Are you using a high-tooth blade (40-80 teeth) and cutting slowly?
By following each step and section detailed above, you will ensure a professional, secure installation of your composite cladding, providing beautiful, eye-catching visual appeal and structural longevity for decades to come.


 Previous Article