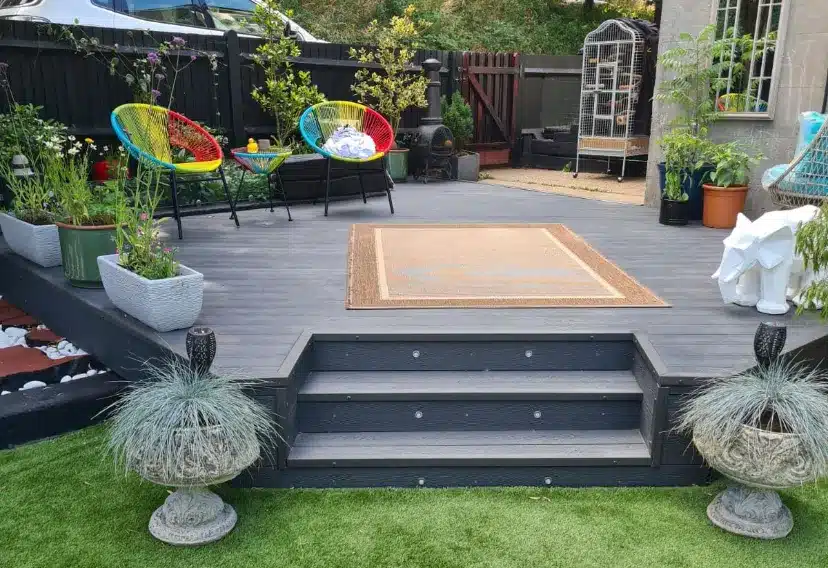
Outdoor Decorating Ideas For Summer
How To Build Garden Decking Yourself
Building your very own garden decking is not only possible, but it can also be a meaningful family project. However, the process can be quite complicated, especially for those with no carpentry or deck-building experience. As long as you have the materials, tools and willingness to learn, building your own outdoor decking area can be very satisfying and fulfilling.
Most decking that you will see is either floating above the ground or elevated by posts and blocks. However, aside from those, there is another popular way of creating a decking. Some homeowners opt for ground-level flush decking. It means that the decking boards sit on the same level as the surrounding ground. Doing this creates a smooth transition from the ground to the decking area. With this design, you do not need stairs.
You can choose to build your garden decking from wood or composite decking to give it a modern and stylish appearance. Composite decking is preferable to wood since it is more durable, easy to maintain and offers a longer lifespan. Building decking in your garden is easy with basic DIY skills, or you can hire a professional contractor to build it for you.
Before Construction
Before the construction process, you must first plan the decking area. Among other things, you will need to consider the size, shape, and location of the decking. Aside from the design, you should also be familiar with the materials you will use. Besides other materials you will require, the most popular decking materials available are composite, wood or PVC.
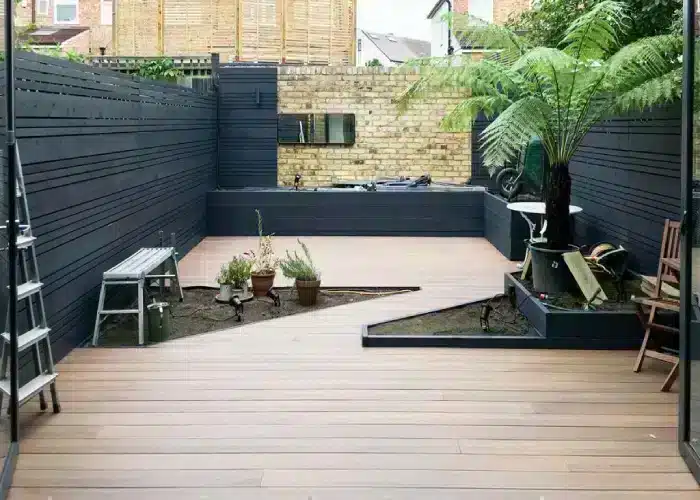
Tools
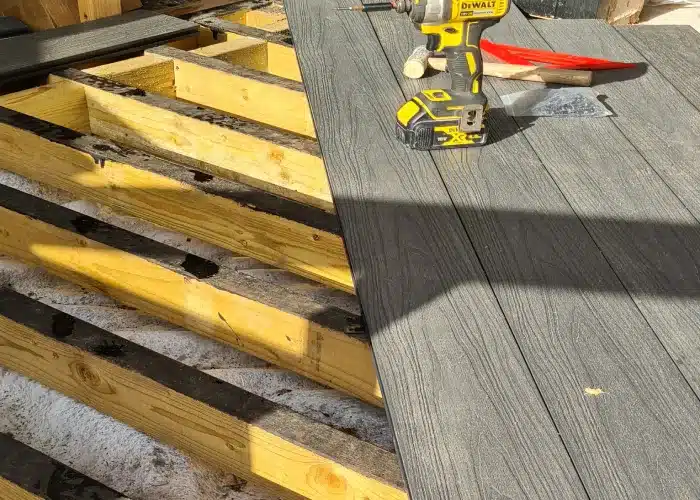
You should also make yourself familiar with the use of the required tools needed and their safety precautions to install and complete your decking project. You can visit the tool manufacturer’s website for more details and instructions on the safe use of the tools being used.
Measure the Layout
You will need to determine how big you want the decking to be. Then, on the ground, mark the area you will use. You can use line pins and strings to mark the perimeter. Use a builder’s square to check if the corners are angled perfectly.
Dig the Ground (Ground Level Decking Only)
For ground-level decking, you will need to dig out the ground. On the outside edge of the string, dig the ground using a shovel. Remove the strings and the pins and continue digging the area. Remove all the turf, plants, and other debris.
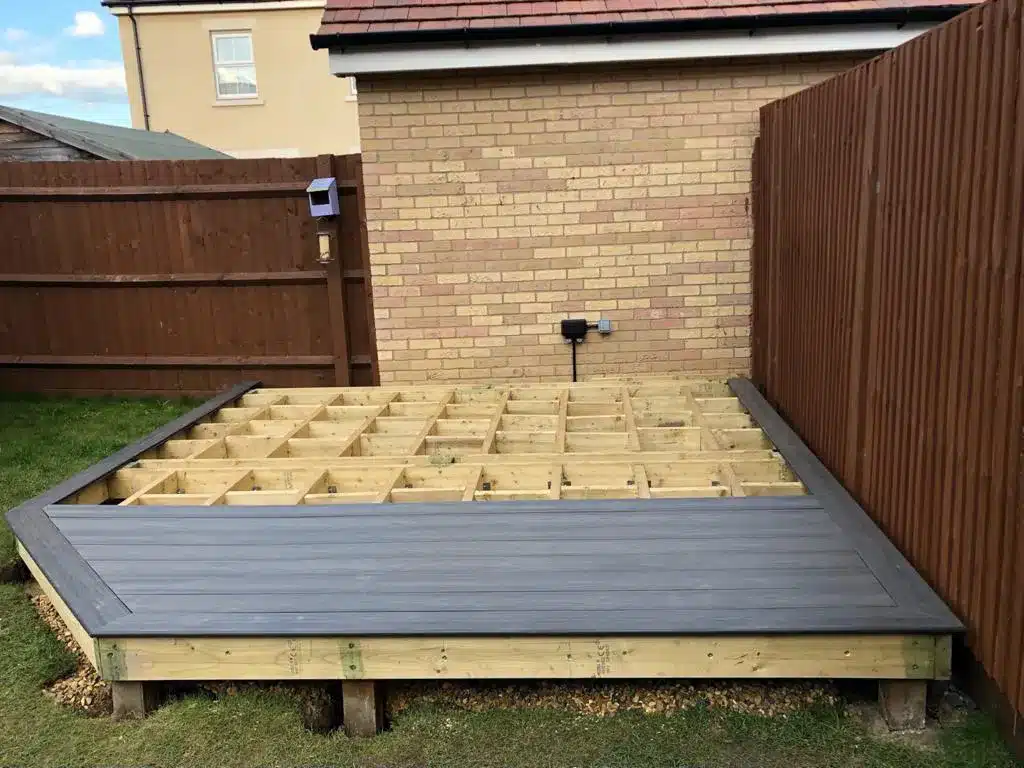
Continue to Excavate the Area (Ground Level Decking Only)
After removing the turf and other obstructions, continue excavating the area for your ground-level decking area. To know how deep you need to dig, add the depth of the joist, the height of the decking boards, and the depth of the sub-base. Then, level the area with a hand tamper or a mechanical one. However, adding a slight slope to the area is highly recommended to provide better drainage.
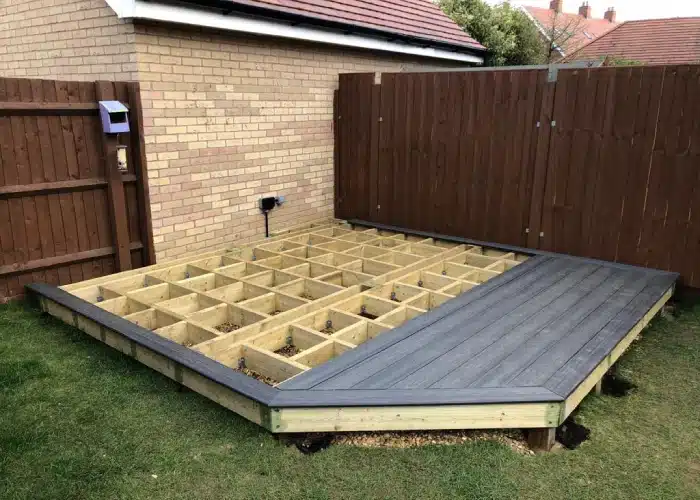
Cover the Area with Gravel
The next step is to cover the area with gravel or other coarse aggregates. You can also mix fine and coarse aggregates for a more stable foundation. Make sure to fill the area. The sub-base will provide additional drainage and give the decking a more stable foundation. How much sub-base should you place? In general, you only have to ensure sufficient depth for the decking to be the same level as the ground.
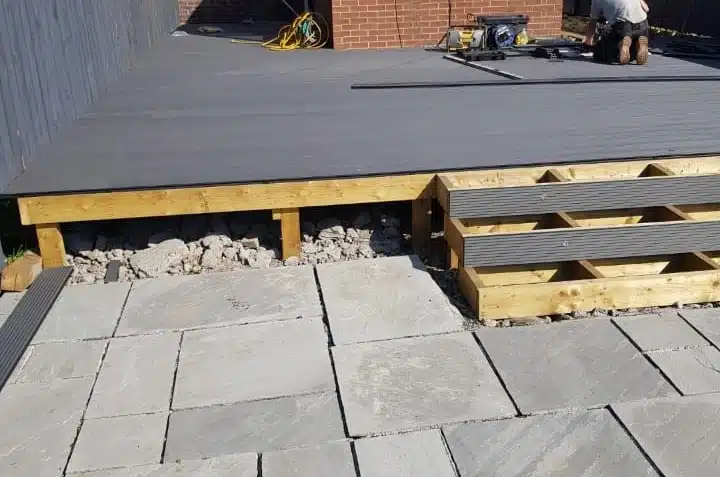
Build the Deck Frame
After preparing the area in your garden where the decking is to be installed, it is now time to build the structure or subframe that will serve as the decking foundation. Several methods can be used to build the decking subframe. Some builders will lay the outer frame straight onto the ground. This is not recommended when using wood for the sub-frame since moisture may be absorbed by the wooden subframe from the ground up. This will have a detrimental effect on your decking stability further up the line. Others chose to install concrete slabs, while some will construct an elevated sub-frame and decking area. Depending on how you want it to be, the process for constructing the decking sub-frame will be different.
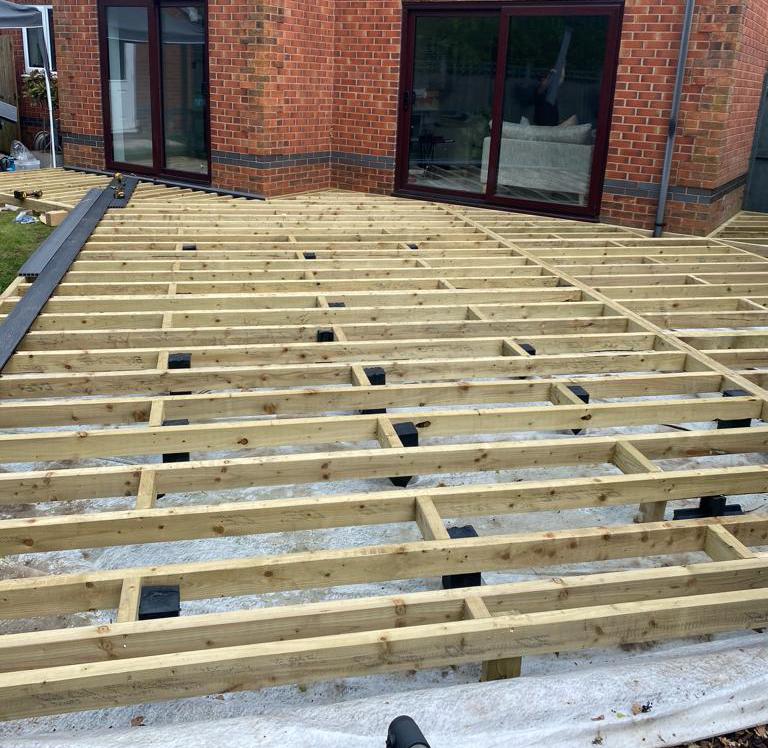
Once you have completed building the decking sub-frame, proceed to attach the frame to the intended part of your home. At the same time, install the joists. Joist centres should be placed at approximately 300mm (30cm) for domestic installations and 200mm (20cm) for commercial installations due to the increased footfall and weight placed upon the decking surface.
You can use pressure-treated (PT) wood or composite joists for joists and frames. Please note: If you decide to choose composite joists, you should increase your budget to cover the additional cost of composite joists. Please also consider the joist dimensions, the thicker the joists, the more load or weight they can withstand and provide improved stability for your decking.
Placing The Decking Boards
The foundation, the frame and the joists are now all in place and ready for the decking boards to be installed/placed on top of the sub-frame. Some homeowners choose wood since they prefer the feel and appearance of real wood. Some choose composite decking for its durability and ease of maintenance. The latest advances in composite decking technology and production make them indistinguishable from real wood. Regardless, make sure to climatise the boards for 24 to 48 hours before installing them onto the sub-frame. Wood and composites expand and contract in hot and cold climates, so it is necessary to leave gaps between the boards. This will prevent the boards from pushing against each other and possibly lifting up and away from the sub-frame. The gaps also help with water drainage to minimise water absorption.
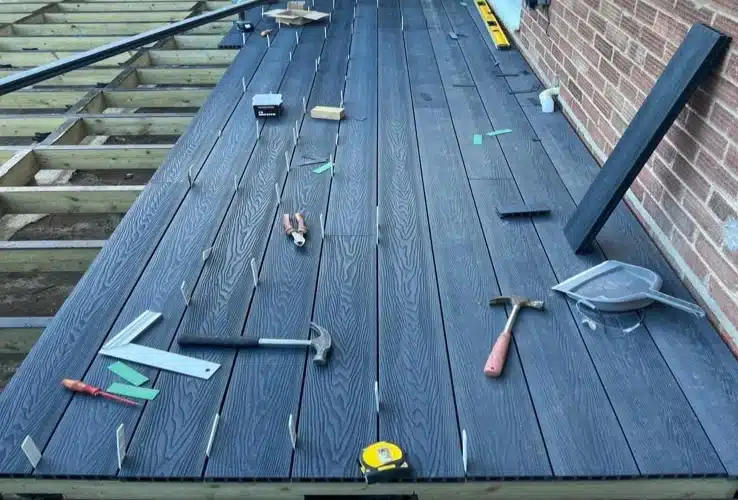
Before permanently fixing the boards in place, it is best to lay them all first. Once you are happy with how it looks, you can fix and install them into place.
When it comes to fixing the decking boards into place, the process is different depending on the materials being used. For wooden decking, you will be using nails or screws. For this, you will need to pre-drill them first. As for composite decking, the latest designs come with a hidden fastener system. Hidden fasteners are fixed into the channels on each side of composite decking boards and secured directly to the sub-frame. There is no need to drill directly through the composite decking boards. The benefits of the hidden fastener system offer a smooth, clean finish with no visible screwheads making it safer to walk on the deck barefooted. Regardless of the method used to secure the decking boards to the sub-frame, ensure each board is rigidly attached to the joists. Do the same for any steps and deck edging.
Summary
Outdoor garden decking can be built using wood, PVC or composite decking boards. The process for installation of a small or large decking area is the same. For a flush ground-level decking, the installation process is slightly different since you will install the subframe directly into the ground. This method is not highly recommended due to the potential build-up of moisture and potential insect damage from the ground level up. This will rot and decay the subframe and eventually any wooden decking boards over time. To combat moisture and insect damage from the ground up, you can lay a concrete foundation. If choosing to lay a concrete foundation, you should increase your budget accordingly.
Follow the steps laid out in this article, or contact your supplier for further information.
Can I Use Vinegar on Composite Decking?


