


Ultimate Guide to Maintaining & Cleaning Your Composite Decking
Introduction
Thinking of Laying Decking Tiles on Grass?
While laying tiles on grass is a tempting “quick fix,” it creates a moisture trap that causes rot and structural instability. For a project to last, you must transition from a “soft” lawn to a “solid” foundation using the methods outlined below.
A proper foundation is a crucial part of how to build your decking so that it lasts. In this article, we’ll walk you through the proper way to prepare your project area and suggest a list of methods to provide longevity to your project, rewarding your hard work.
Table of Contents
The Problems with Laying Decking Directly onto Grass and Soil
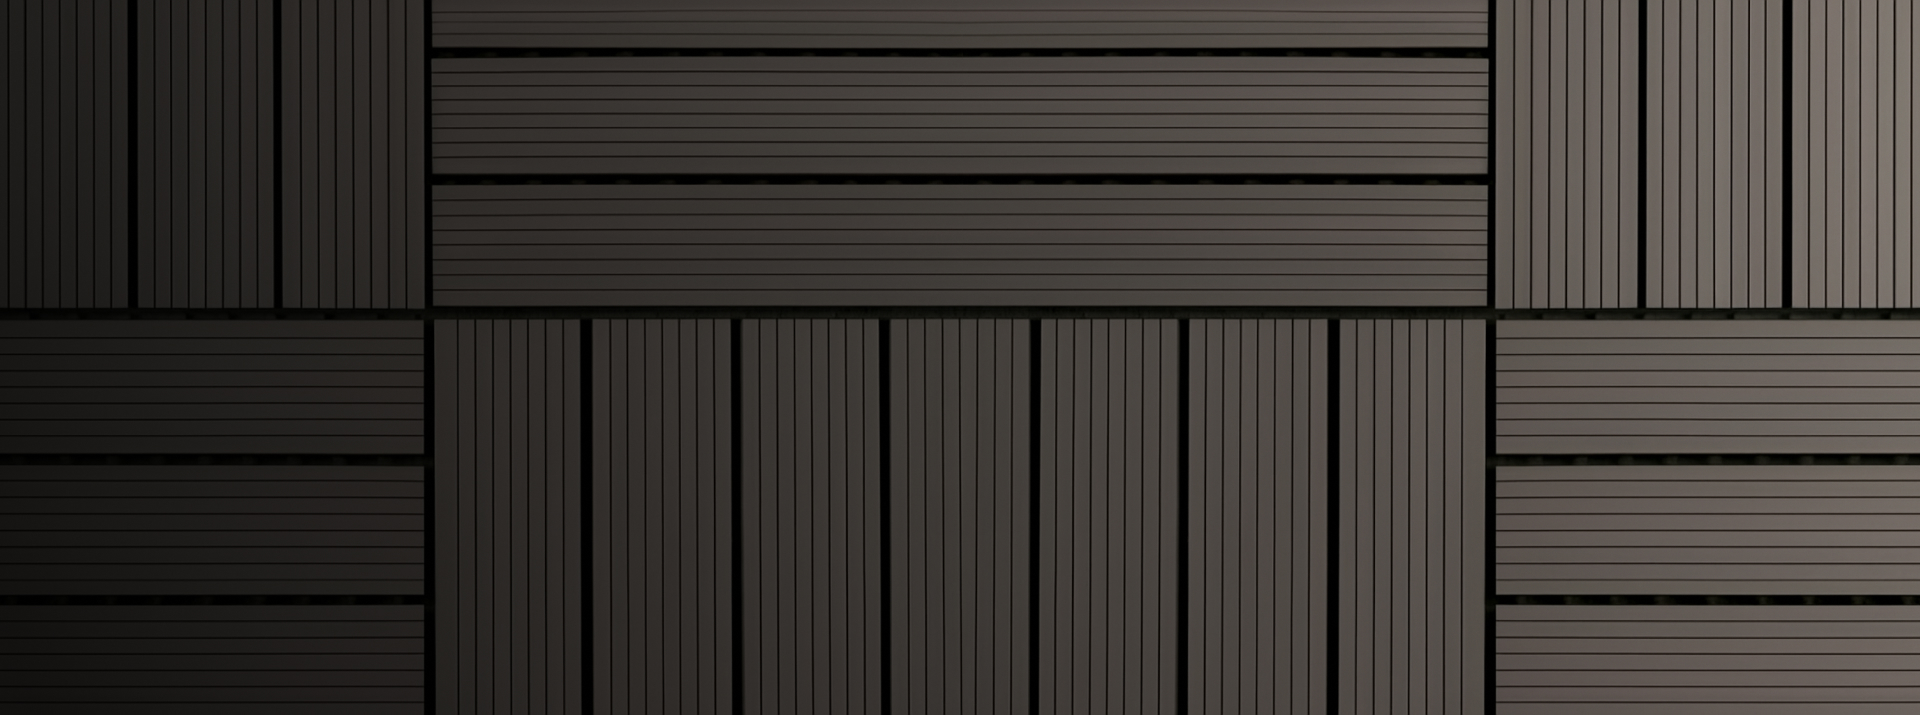
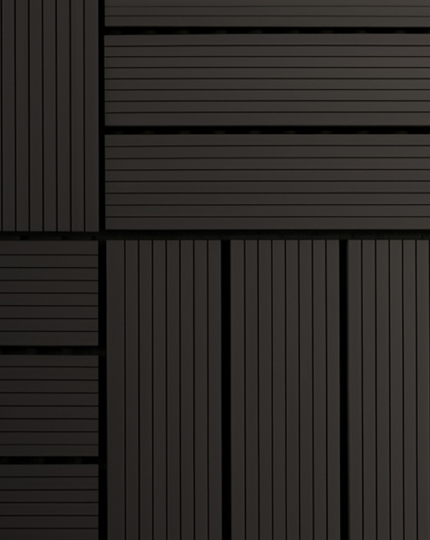
Most decking tiles today are an easy installation and can be clipped to one another. Other varieties of decking tiles have specific instructions provided by the manufacturer to guide you through their installation, if you’re planning to install them yourself – be sure to read the manual first. But as far as decking tiles go, it’s very easy to install and can be done without any prior experience.
Installation of decking tiles might be easy, but this doesn’t mean you should skip the key fundamentals and place it directly onto your lawn. Placing any decking material (especially wood tiles) directly onto a soft surface like grass is not advisable for a long-term project.
Below is a list of the main issues you might encounter when laying your tiles without the proper preparation beforehand.
-
Moisture & Rot:
Most soil in the UK is almost always damp; direct contact with wet grass or soil traps this moisture beneath the tiles. Most wood will swell due to moisture retention and then shrink when it dries; over time this will deteriorate the integrity of the wood – a major problem, as the wood will absorb the moisture, causing it to swell and rapidly break-down and rot.
-
An Unstable Foundation:
Grass and topsoil are often soft and uneven; placing tiles directly on top will create an unstable surface that moves underfoot. Over time, the tiles will sink into the ground at varying and uneven rates, creating a wobbly and unsafe trip/slip hazard.
-
Mould Growth & Insect Damage:
The lack of airflow space between the earth and the tiles creates a dark, damp environment – the perfect breeding ground for mould and mildew. It also makes the tiles highly susceptible to damage from insects living in the soil.
Expert Tip: Dark and damp environments increase the likelihood of unwanted fungal and weed growth in contained spaces. Due to the wood fibres in wood and composite tiles, humidity in enclosed spaces provides food sources via the wood and a beneficial environment to encourage the growth of these organisms, potentially leading to rot or invasive growth into your tiles.
The Right Way: How to Prepare a Proper Foundation
To avoid these problems, you must create a stable, level, base with sufficient drainage provided. Here are the two best methods: –
Method 1: A Gravel Base (The Recommended DIY Method)
This is the best DIY method for creating a new foundation.
-
Mark and Clear:
Mark out the area, then dig out all grass and several inches of topsoil.
-
Add Weed Control:
Lay a high-quality weed membrane over the bare earth.
-
Fill with Gravel:
Cover the membrane with a deep layer of gravel or MOT Type 1 Hardcore.
-
Level and Compact:
Use a tamper to compact the gravel down firmly until the entire area is flat and level.
-
Install Perimeter Edging:
To ensure a professional finish, you must install a fixed border around the entire perimeter using timber gravel boards or heavy-duty plastic edging.
Because decking tiles are lightweight and gravel acts as a “fluid” base, the tiles will naturally “drift” apart over time as they are walked upon. Without containment, the interlocking clips can snap and unsightly gaps will appear. A mandatory edging step locks the tiles into a tight, unified grid that cannot shift.
-
Lay the Tiles:
You can now safely lay your decking tiles on this solid, free-draining base, ensuring the outer tiles are pushed firmly against your edging for maximum stability.
Method 2: Existing Concrete Slabs:
If you already have a solid concrete or paving slab patio, this is great news. You can lay decking tiles directly onto this base, but first you must check that it is in good condition with no major cracks and that water drains away from your house correctly.
Method 3: Laying on an Existing Deck (Avoid This)
Our Warning: We do not recommend laying decking tiles on top of an old wooden deck. If the old boards are worn, the subframe beneath is likely already rotting. Covering it will trap moisture and accelerate the decay, creating a serious safety hazard. The only safe option is a full replacement of your old timber.
An Expert Tip: A Better Investment for Your New Surface
In most cases, decking tiles may be a quick solution for your garden—and for those looking for a short-term fix, they’re great.
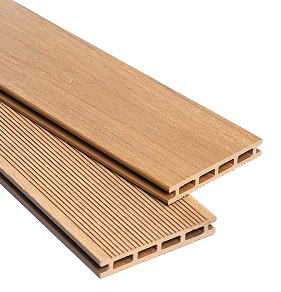
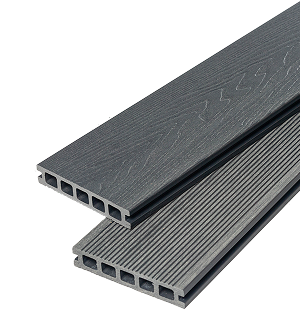
- The Upgrade: However, if you are looking for a long-term solution requiring low levels of care, why not consider purchasing full-length composite decking boards?
- The Value: Composite decking may cost more upfront, but it is a worthwhile investment over timber-based decking due to its many beneficial qualities. It offers higher colour retention, minimal upkeep, and a lifespan far exceeding the typical 5-year period of tiles. When installed correctly, it provides a strong return on investment, lasting 10-25+ years.
Ready to upgrade your plan?
Frequently Asked Questions
How do I stop my decking tiles from moving on gravel?
To prevent tiles from “drifting” or shifting apart, you must install a fixed perimeter edging. Using timber gravel boards or heavy-duty plastic edging strips creates a containment frame that keeps the interlocking clips secure and prevents gaps from forming as you walk on the surface.
Is a weed membrane really necessary under decking tiles?
Yes. Without a high-quality weed membrane, light and moisture reaching the soil will encourage weed growth between the gaps of your tiles. Once weeds take root in the gravel base, they are difficult to remove without lifting the entire installation.
How long do decking tiles last compared to composite boards?
While decking tiles are a fantastic short-to-medium-term DIY solution (typically lasting 3–8 years depending on maintenance), full-length composite decking boards are an industrial-grade investment. When installed on a professional subframe, composite boards often last 25+ years with significantly less maintenance and superior structural safety.
Next Article 
Thinking of Covering Your Old Deck? This UK Expert Warning Could Save You £1000’s
