


How to Protect Decking Joists From Moisture in the UK (2025)
Introduction
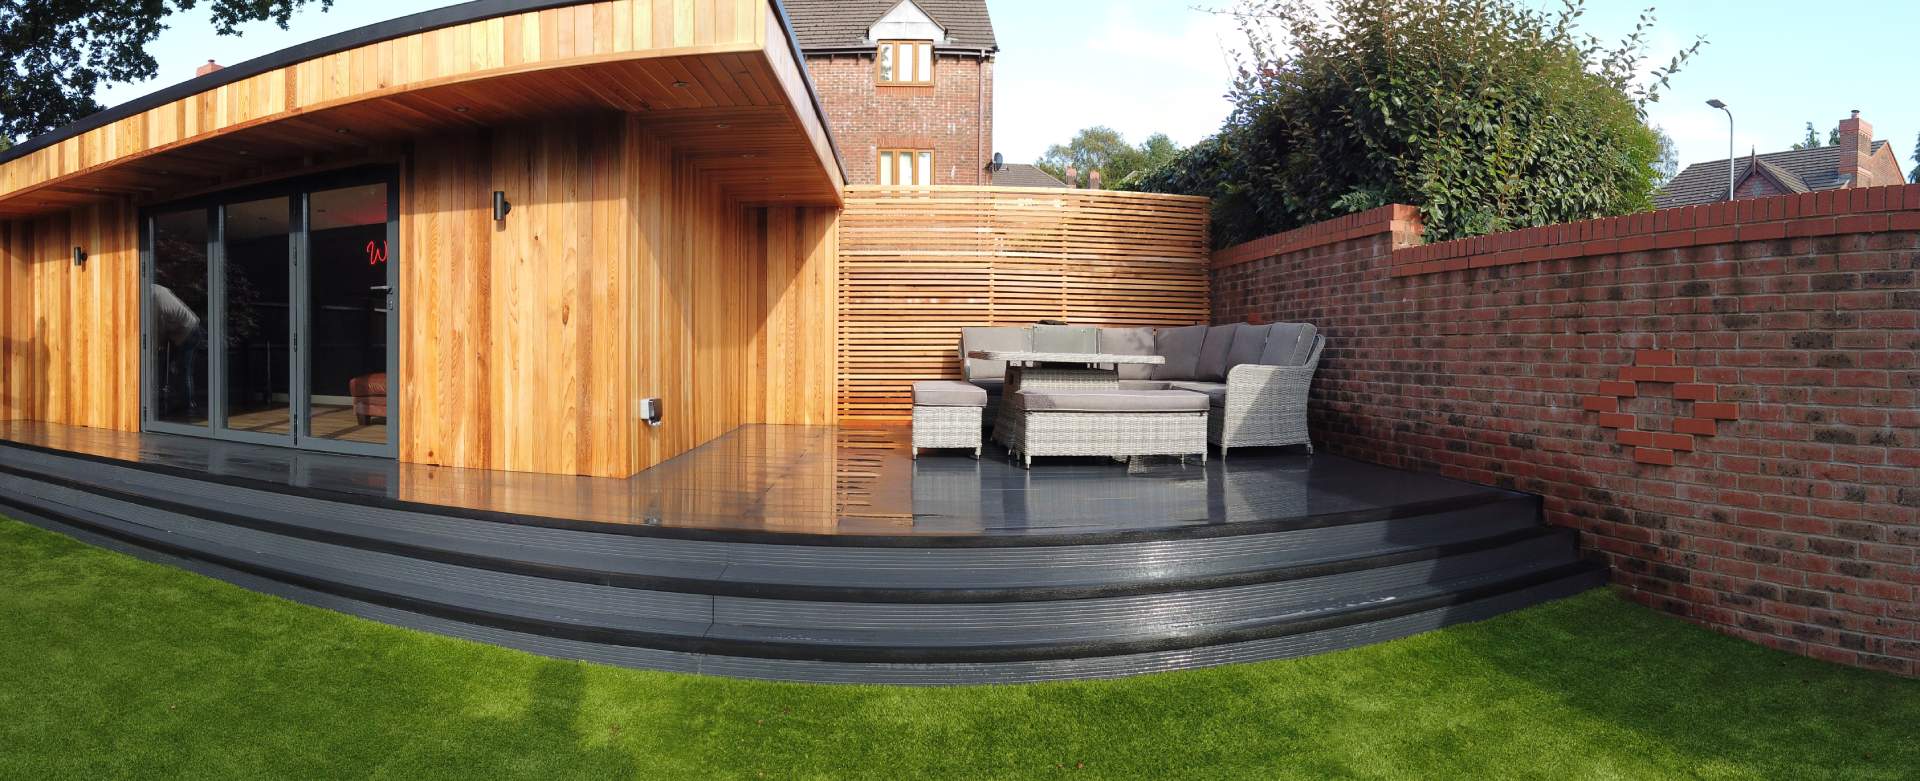
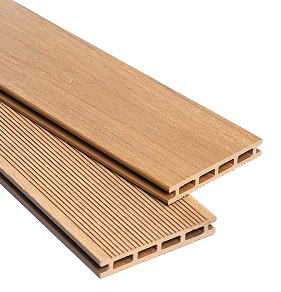
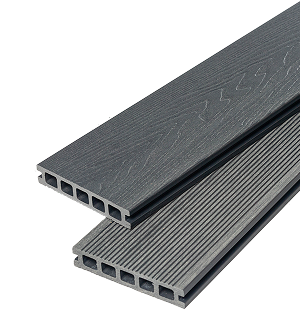
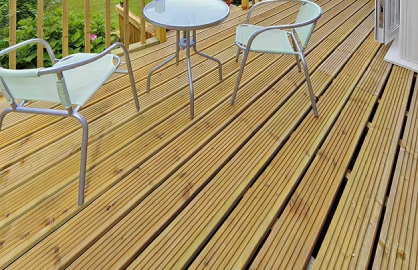
There are several reasons why you may need to remove old wooden decking boards from your garden. Perhaps you need to replace rotten boards, or maybe you simply want to redesign your garden with a new surface. Many customers choose to remove their wooden decking to replace it with composite material for a more modern aesthetic and to reap the benefits that composite has to offer.
Whatever the reason, you will need to be careful when removing the old decking boards. If you want to keep the boards for other DIY projects, you will need to take extra precautions to retain minimal damage. This guide will walk you through the process, whether you are removing rotten boards or carefully salvaging them for reuse.
Tools You’ll Need
Before you start, it’s best to get your materials ready. You will need:
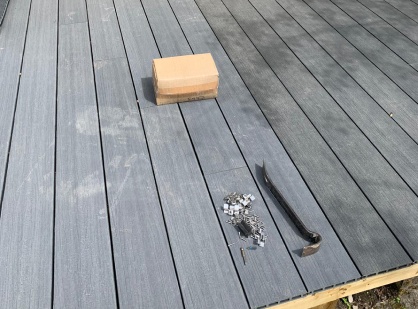
- A hammer
- A crowbar or other prying tools
- An electric screwdriver or drill
- Pliers
- A circular saw
- A chalk line or pencil
Table of Contents
Step 1: Prepare the Deck Area
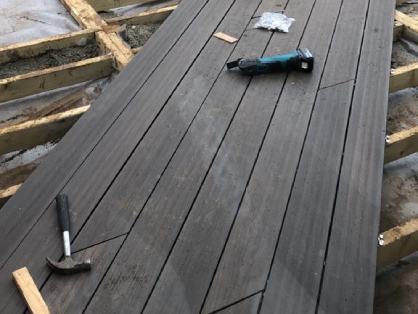
First, clear the surface of your decking of any items such as furniture, BBQs, or plants. Inspect the boards for any nails that have popped up and use a hammer to drive them back down. Do the same for any loose screws and screw them down securely. This makes the surface safer to work on.
Step 2: Removing Boards Fixed with Screws
Screws are commonly used for decking installation as they provide more security than nails. They should be relatively easy to remove with less chance of damaging the joists and boards.
To start, use an electric screwdriver set in reverse to unscrew the screws. When dealing with flushed screws, where the heads are buried deep in the wood, the process can become more difficult. If you find that your screw heads are deeply buried and not accessible, you can use a plug cutter. A plug cutter drills a small hole around the screw, exposing the head and allowing you to get a grip with pliers or your screwdriver.
Step 3: Removing Boards Fixed with Nails
If you have used nails, you can use the claw of a hammer to remove them. Removing nails must be done very carefully if you want to save the material. To take extra caution, insert a piece of thick fabric or a block of wood underneath the head of the hammer as you pry the nail up. This should leave the deck boards unmarred.
If using the claw of a hammer does not work, you can try using a crowbar or other prying tools. Pliers can also be used to grip and remove buried nail heads. When prying the nails with any tool, you must not yank them out carelessly; instead, do it as gently as possible to avoid damaging the wood.
Pro Tip: Cutting Boards for Easier Removal
A method that can make the removal process much easier, especially if you plan to reuse the timber, is to cut the decking boards into shorter, more manageable sections.
First, you must plan where to make your cuts to avoid damaging the joists underneath. Be aware of the thickness of your boards to set your circular saw blade to the correct depth. Mark your cutting lines with chalk, then use the circular saw to complete the cuts. This method decreases the chances of the boards splitting or cracking during removal.
Step 4: What to Do with the Old Boards

After removing the old decking boards, you may want to reuse any wood that’s still in good condition. Many customers choose to use their leftover wooden boards for other DIY projects, such as making planter boxes or garden shelves.
If the boards are no longer usable, you will need to dispose of them correctly. Remember that pressure-treated wood is considered hazardous waste and cannot be burned. Contact your local recycling centre for advice on proper disposal.
Conclusion & Next Steps
Removing old decking boards must be done carefully to protect yourself and the subframe underneath. If you are ever unsure, we would always recommend contacting a professional who will have the correct tools for the job.
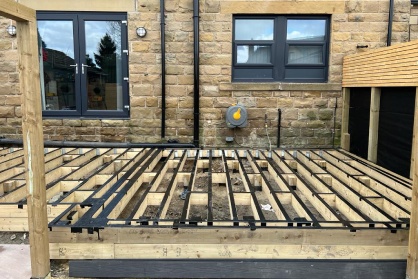
Now that your old boards are removed, the most important step is to inspect your subframe.
Next Step: Read our complete guide on how to check if you can reuse your old deck’s foundation.

Next Article 
How to Choose Composite Decking Colour
