


How to Build a Garden Bench from Composite Decking (2025 UK DIY Guide)
Jump To Section
Introduction
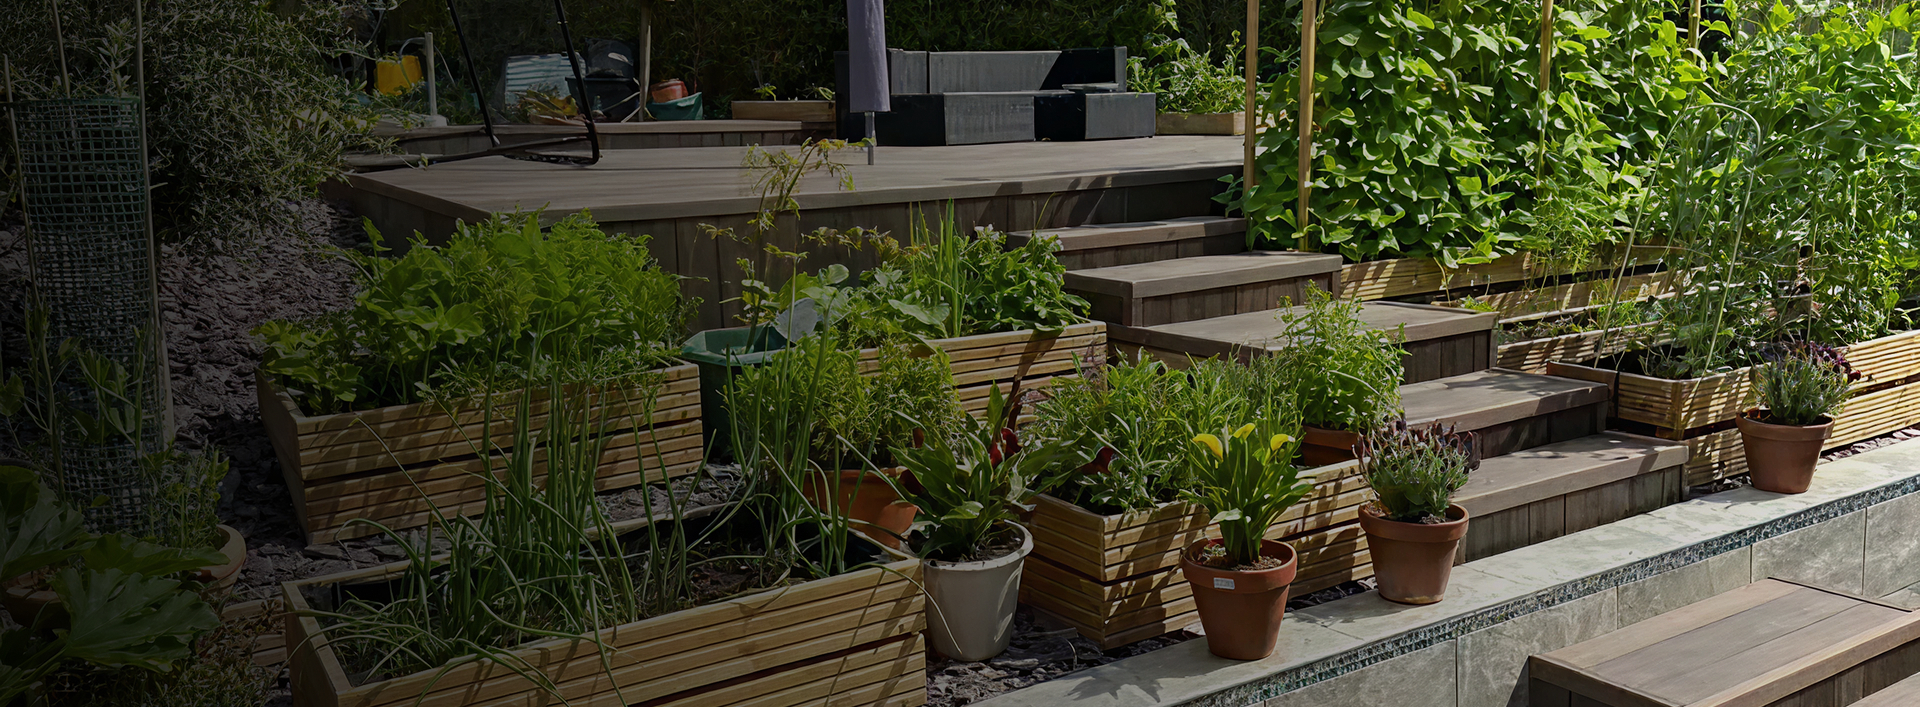
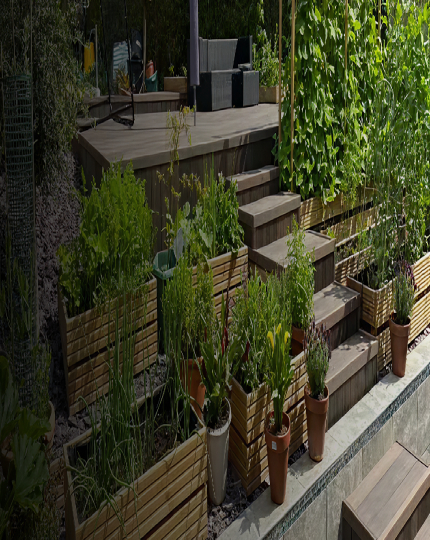
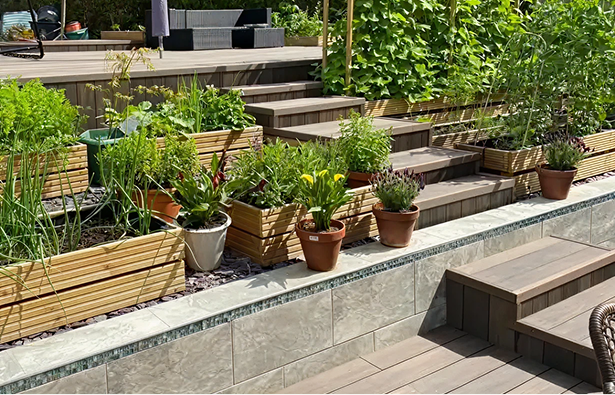
Planters and raised garden beds made from composite decking are becoming increasingly popular across the UK, and for good reason. Homeowners are discovering they offer the perfect blend of modern aesthetics and long-lasting functionality.
However, when building a space to grow plants, flowers, or even vegetables, choosing the right material is critical. You need something that is durable, low-maintenance, and—most importantly—safe for your soil. This guide will show you why wood-plastic composite (WPC) is the superior choice and provides two easy methods for building your own.
Table of Contents
Why Composite is the Best & Safest Material for Garden Beds
While materials like wood, brick, or metal can be used, composite decking stands out as the ideal material for raised garden beds, primarily due to its durability and non-toxic composition.
The main concern with traditional timber is the use of pressure-treated wood. Older treatments (CCA) contained chemicals that could leach into the soil, while even modern treatments (ACQ) are not recommended for vegetable gardens without a protective liner.
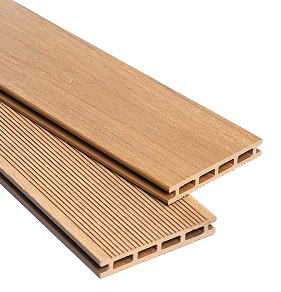
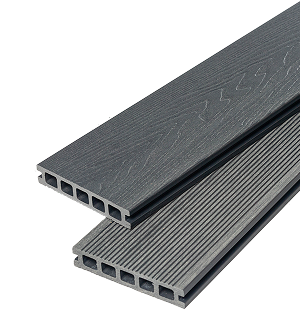
Wood-plastic composite decking, made from a mix of recycled plastics and reclaimed wood fibres, contains no toxic chemicals. This makes it perfectly safe for growing your own vegetables, herbs, and flowers.
Key Benefits of Using Composite Boards:
-
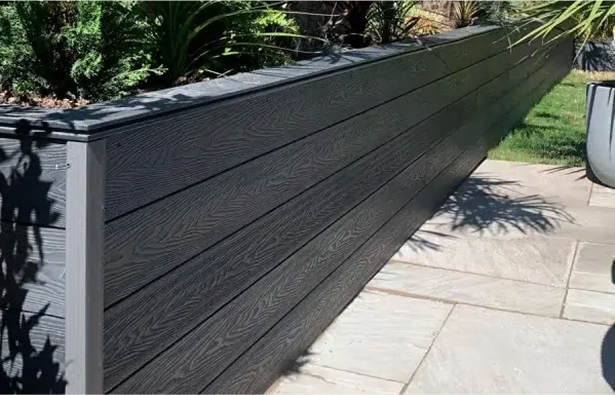
Durable & Rot-Proof:
Composite resists moisture, so it won’t crack, rot, or decay over time like wood. Your planter will last for decades.
-
Low Maintenance:
There is no need for annual painting or staining. A simple clean is all that’s required to keep it looking great.
-
Insect-Resistant:
Unlike wood, composite material is not susceptible to damage from insects.
-
Perfectly Matching Aesthetic:
Using leftover decking boards means your new planter will perfectly match your existing decking, creating a seamless, high-end look.
Method 1: The Easy Kit (No Tools Required)
For a fast and simple project, a pre-made composite planter kit is the perfect solution.
Step 1: Prepare Your Kit
Purchase a planter kit from a garden centre or online supplier. Most kits contain a grid base for drainage, an aeration sheet for air circulation, four corner posts, and the composite boards.
Step 2: Assemble the Base
Lay out the square grid segments on level ground and push them together to form the base. If an aeration sheet is included, place this on top of the grids.
Step 3: Install the Corner Posts
Fasten each of the four corner posts to the corners of the base grid. Ensure the slots on the posts are facing inwards, ready to hold the boards.
Step 4: Add Boards and Soil
Slide your composite boards into the slots on the corner posts to build the walls of your planter. Once assembled, your planter is ready to be filled with high-quality soil!
Method 2: The DIY Guide (Using Decking Boards)
Building a custom planter from scratch or with leftover decking boards is a highly rewarding DIY project.
Step 1: Gather Your Materials & Tools
-
Materials:
Composite decking boards, galvanised screws, and your chosen base material (see next step).
-
Tools:
A power drill, a screwdriver, a handsaw or circular saw, and a measuring tape.
Step 2: Prepare the Base
Decide what will be at the bottom of your planter. We recommend a layer of cardboard, as it’s eco-friendly, suppresses weeds, and eventually breaks down to benefit the soil. For extra protection against burrowing rodents, you can lay down a layer of chicken wire before the cardboard.
Step 3: Cut Boards & Drill Pilot Holes
Measure and cut your composite boards to the desired length and height for your planter’s four walls. On the two shorter boards, use your drill to make three pilot holes near each end. This crucial step prevents the composite material from cracking when you drive the screws in.
Step 4: Assemble the Frame
Line up the four boards to form a box, ensuring the boards with the pilot holes are on the outside. Using your drill or screwdriver, drive the galvanised screws through the pilot holes to fasten the corners together securely.
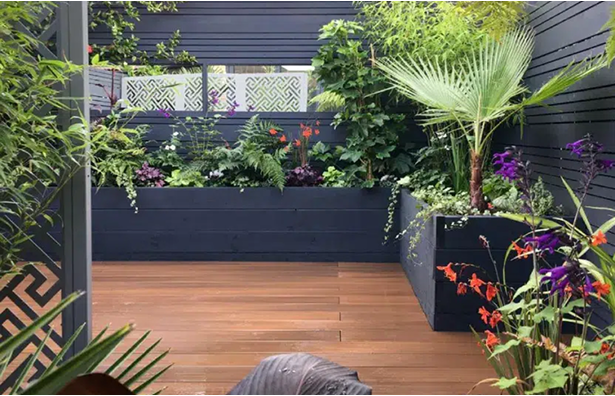
Step 5: Fill and Plant
With your frame built, place it in its final location. Fill the planter with high-quality soil and you’re ready to start planting. For extra organisation, you can create a twine grid across the top, secured with hooks or screws, to guide your plant growth.
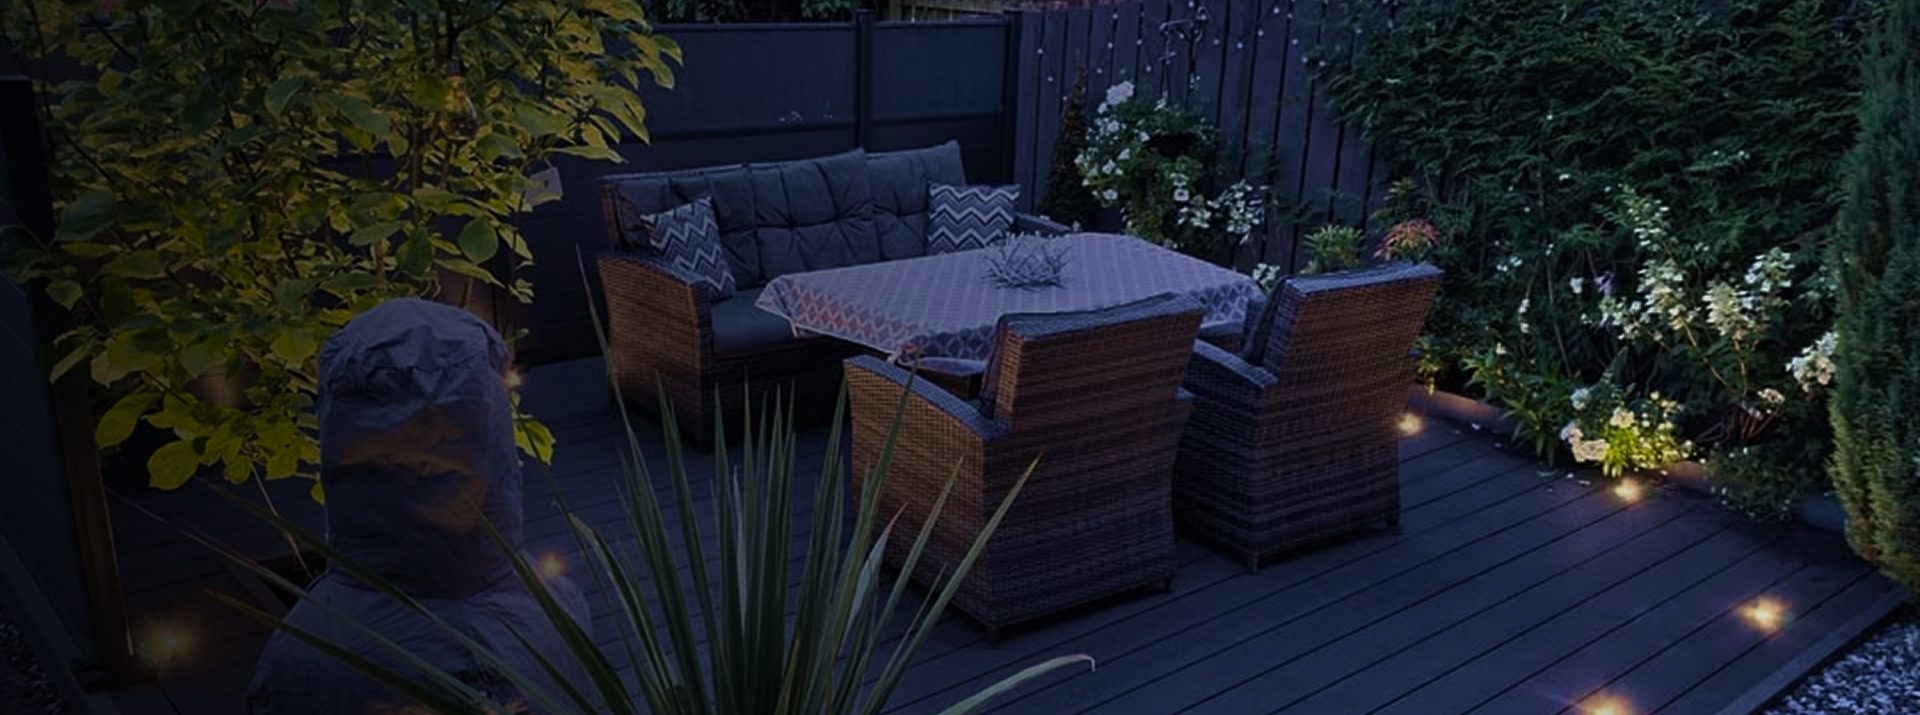
Conclusion: A Beautiful, Long-Lasting Addition to Your Garden
Whether you use a simple kit or build a custom planter from leftover composite decking, you can easily create a beautiful, functional, and long-lasting feature for your garden. Using composite ensures your raised beds won’t leach chemicals, won’t rot, and will perfectly complement your outdoor space for decades to come.
About the Author
![]()
BSc. (Hons) Engineering CEO & Founder of Ultra Decking®
As the founder and CEO of Ultra Decking®, Allan Jeffrey is a recognised expert and leading innovator in the field of wood-plastic composites, backed by a successful business career spanning over 40 years. His foundation in engineering (BSc. Hons) is the driving force behind the company’s commitment to technical excellence and ground-breaking product development.
Through premier brands like Ultra Decking® and the pioneering BioSyn™, Allan’s vision is to supply discerning clients with luxurious, sustainable building materials that perfectly match their lifestyles and values.

Next Article 
Should You Paint Your Decking Joists? An Expert's Guide to a Pro Finish
