


Which Outdoor Decking Material is the Best?

Jump To Section
Introduction
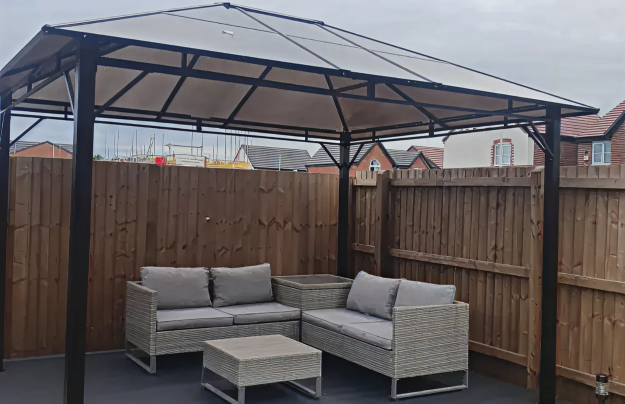
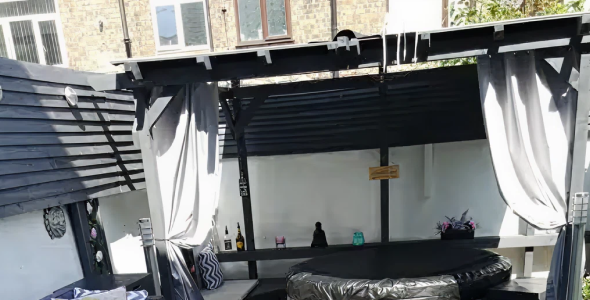
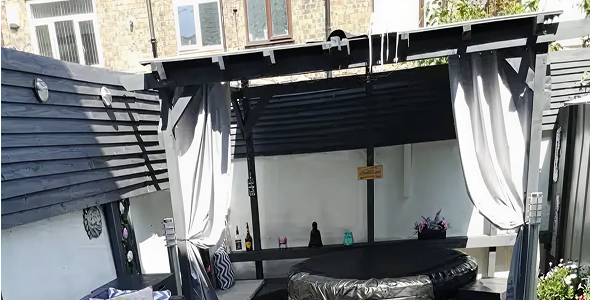
Building a pergola on your decking is great feature to evaluate your garden design and more important provide shade and shelter for rain. They provide a comfort and warmth in the winter months, where you can relax. Pergola, turn you deck in our personal view into a true outdoor extension that can be used all year around.
Table of Contents
Materials & Tools List
Tools

- 6x6 posts
- Hot dipped galvanised nails
- Galvanised screws or bolts
- 2 by 8 beams
- 2 by 6 rafters
- Joist Hangers
- Starter Clips, Hidden Fasteners
- Galvanised Structural Screws
- Finishing Trims (Bullnose / Fascias)
Materials

- Jigsaw
- Hand clamps
- Circular saw
- Handsaw
- Tape measure
- Ladders
- Drill bit
- Drill
Before You Build: Critical Planning & Safety Checks
This is the most important phase of your project. A pergola adds significant weight and stress to your garden and deck structure.
-
Do I Need Planning Permission?
In most cases in the UK, you won’t need planning permission if the structure is not over 2.5m high and doesn’t cover more than 50% of your garden. However, rules are complex. Our expert advice is simple: always check with your local council first to be 100% safe.
-
Can Your Deck’s Subframe Handle the Load?
A standard decking subframe is NOT designed to support the weight of a full pergola. For this reason, we do not recommend attaching pergola posts directly onto your decking boards without significant reinforcement below. The safest and most robust method for a DIY project is to set the posts in their own concrete footings just outside the deck frame.
The Build: A Step-by-Step Guide
The second classification of lumber is hardwood. Hardwood decking is much more durable than softwood decking. However, unlike softwoods, they are much rarer and come from slow-growing trees. Because of this, they are more expensive than softwood. Life Like softwoods, there are a variety of hardwoods that you can choose from. Let’s take a look a some of the options available today:
Step 1: Set Your Posts in Concrete
Mark Your Locations:
Mark out where your four 6×6 timber posts will go, positioned just outside the corners of your deck.
Dig the Holes:
For each post, dig a hole approximately 300mm x 300mm wide and at least 750 mm deep.

Prepare for Drainage:
Install your rafters on top of the beams, typically spaced evenly apart. For a stronger and more level finish, you can cut small notches into the rafters so they sit securely over the beams like jigsaw pieces. Connect and fix into position with galvanised nails or screw
Set the Posts:
For each post, dig a hole approximately 300mm x 300mm wide and at least 750 mm deep.

Pour the Concrete:
Install your rafters on top of the beams, typically spaced evenly apart. For a stronger and more level finish, you can cut small notches into the rafters so they sit securely over the beams like jigsaw pieces. Connect and fix into position with galvanised nails or screw

Step 2: Build the Roof Frame
Cut Posts to Height:
Once the concrete is set, cut all your posts to their final, level height.

Attach the Main Beams:
he main support beams (e.g., 2×8 timber) connect to your posts. For the strongest connection, cut a “notch” into the top of each post for the beam to sit in. Alternatively, for an easier but still very strong connection, you can use decorative metal hardware like Simpson Strong-Tie T-straps to connect the beams to the posts. Always use heavy-duty, hot-dipped galvanised screws or bolts for all structural connections to prevent rust.
Attach the Rafters:
Install your rafters on top of the beams, typically spaced evenly apart. For a stronger and more level finish, you can cut small notches into the rafters so they sit securely over the beams like jigsaw pieces. Connect and fix into position with galvanised nails or screw
Conclusion
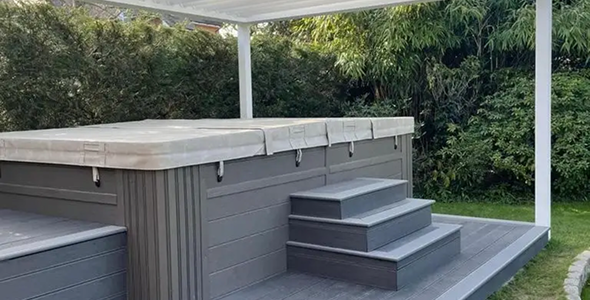
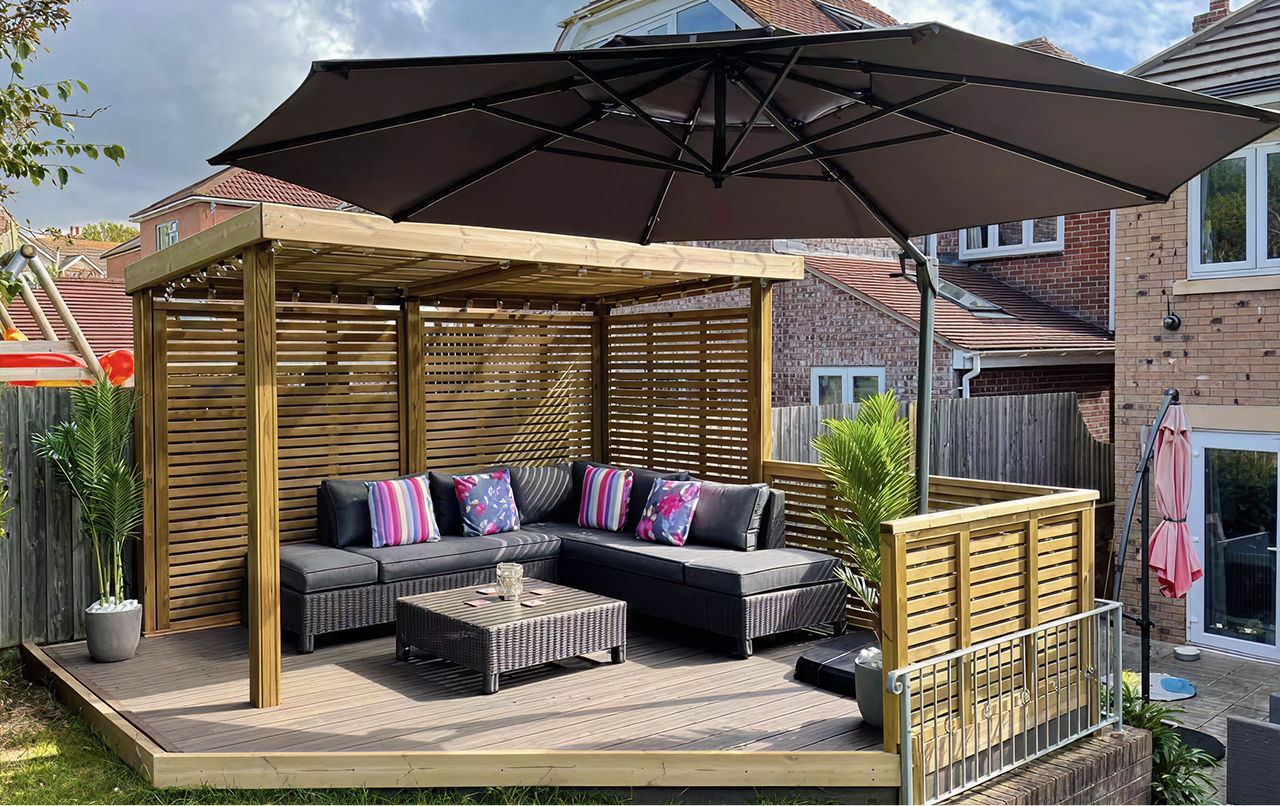
Building a pergola is a more complex project than laying a deck, but it creates a stunning, all-year-round feature for your garden. If you are an experienced DIYer, follow these steps carefully. If you are in any doubt, we recommend speaking to a professional installer.
Next Article 
Composite Decking Price Guide
