


Disadvantages of Composite Decking
How To Build Raised Decking
 Fay
Fay December 22, 2022
-
Learn Decking
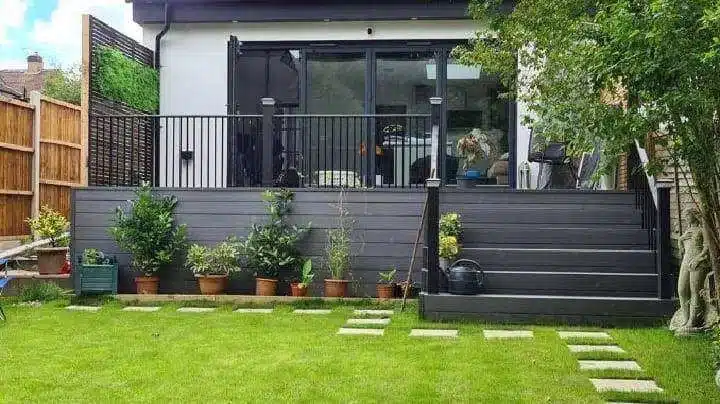
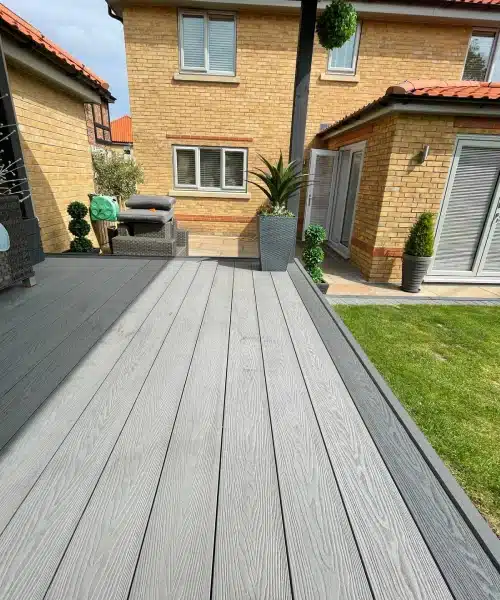
You may want to install a raised decking if you have a sloped landscape or simply want to create some dimension to your garden space. If you are choosing to install your raised decking yourself, we have created a simple step by step guide to follow in order to complete this process. Additionally, we have accumulated the most frequently asked questions customers have about raised decking, to make the process easier whether you are considering installing raised decking or in the process of installation. We will look at issues of cost, planning permission and important information you may need to know prior to your decking installation.
FAQs from customers
Planning permission is not usually required when constructing a decking in your personal outdoor space, however if you are building a decking that is higher than 30cm from ground level or covers more than 50% of your landscape area, you will need to get it. Anything below 30cm in height is considered a permitted development and would not need planning permission to construct. Additionally, you may need planning permission if the structure is an invasion of privacy; ensure you speak to your neighbours as neighbour objections are usually the reason for planning permission rejections. For any property that isn’t a house, planning permission will be required.
Decking is raised through the use of posts, that can either be anchored to an existing concrete surface, or sunk into the ground through holes dug into the soil. Posts can be various materials such as wood or composite, that will stabilise your decking structure and create a level surface. Therefore, you do not need a specific existing surface in order to build a raised decking in your garden.
In order to build a raised decking yourself, you will need the following tools and materials, as well as any safety equipment for the installation process. The tools required are: a Hammer drill, drill, spirit level, adjustable spanner, ratchet set, spade, tape measure and masonry drill bits. Additionally, the materials you will need are: posts, joists, post fixing cement, concrete fixing bolts, hardcore/ gravel, post supports, joist hangers, hidden fasteners, choice of decking boards and step stringers (when installing steps).
A raised decking will cost you more than a regular ground level decking, as more materials are required in order to retain the structural integrity necessary. Not only this, the labour costs are also increased when building a raised decking in comparison to a ground level deck. Extra materials such as steps or stairs or even possibly railings for safety might be required with a raised decking, therefore more material means more expense and more time spent on labour. The price will also likely increase depending on the height of the elevated decking, and the steepness of the slope if the raised decking is being built on a slope.
The space under your raised decking can conveniently be used for extra storage in your exterior space. Many customers choose to utilise the space below a raised deck to store gardening equipment, tools, garden furniture or even children’s outdoor toys. This is a major benefit of installing a raised decking in your garden.
Your decking does not have to be attached or connected to your property. This is usually referred to as a free standing deck. You can choose to install a raised decking that is attached to your house or alternatively you can install a raised decking on a separate area of your garden.
It is not a necessity to hire a professional fitter to install your decking, in fact many consumers choose to install their decking themselves. However, as a raised decking needs to be fitted accurately to be structurally sound for safety, it is recommended to hire a professional to complete the job for you. If you have experience with building and installing structures, we have devised a step by step guide for your convenience.
How to build a raised decking

Tools required:
- Hammer drill
- Drill
- Spirit level
- Adjustable spanner
- Ratchet set
- Spade
- Tape measure
- Masonry drill bits

Tools required:
- Posts
- Joists
- Post fixing cement
- Concrete fixing bolts
- Hardcore or gravel
- Posts support
- Joist hangers
- Hidden fasteners
- Decking boards
- Step stringers
(When installing steps)
Step by step guide:
Step 1
Planning
Before you start installing your decking, it is imperative to plan your project accurately, in order to avoid any mistakes from being made and to ensure maximum safety throughout completing the project. If you are unsure about any of the following steps or have no previous experience in DIY projects or building exterior structures, it is recommended to hire a professional to complete the installation process for you.
When planning, you will need to map out the area and size of the decking you desire and work out how many boards you will require. Consumers often utilise pegs and string to plan the positioning of where the posts and substructure will be placed. If you are using composite decking boards, you will need to allow them to climatise for 48 hours outside prior to installation.
Step 2
Prepare the area
You will need to remove any debris or grass from the area you are planning to build upon. The area that your posts will be placed must be levelled with a spirit level. Your posts must be 1.5m apart.

Step 3
Posts on existing concrete surface
When you are fixing posts to an existing concrete surface, you will need to anchor the posts to the ground. When fitting your posts, you need to create a slight gradient of 2.5% to allow or surface run off.
Put the base support on the place you are installing the posts and mark 4 drilling holes with a pencil. Remove the base, and drill into the holes with a hammer drill and masonry drill bits. Place the base back over the holes you have made, screwing them into place with your concrete fixing bolts.
Insert the post into the base, tightening the bolts with your spanner and ratchet to support the post into place. You will need to tighten the bottom two bolts first, as to ensure the post is fitted upright. Use your spirit level to retain an accurately vertical post.
Step 4
Posts into soil
Alternatively, to fixing posts to an existing concrete surface, you can dig a hole and cement your posts into the ground to stabilise the posts structural integrity on soil. Remember you need to ensure the decking surface has a gradient of at least 2.5% to allow for surface runoff, which stops water from pooling on your decking surface.
The higher you desire your decking to be, the deeper your holes need to be. As a rule of thumb, you should have a quarter of the post buried in the ground. Add an inch of gravel or hardcore to the bottom of the holes you have dug out to ensure proper drainage, reducing rotting from occurring on timber posts.
Put your post into the hole and fill up the hole with post mix. Compact the postcrete down and continue to check with a level that the post is straight. Leave an inch at the top of the post to perform a sloped finish. Pour water over your postcrete allowing it to set. Then, for additional support screw batons at an angle into the post.
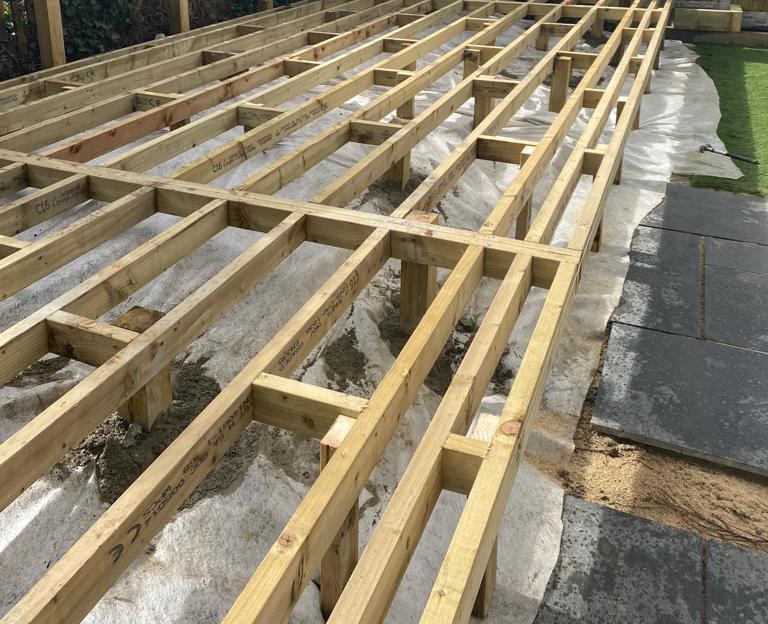
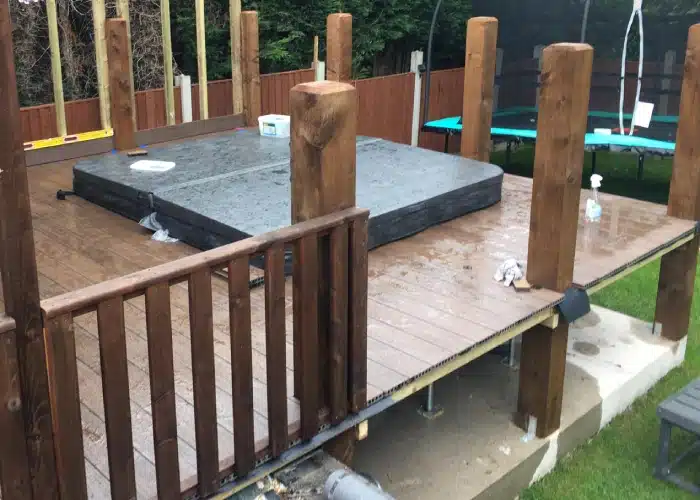
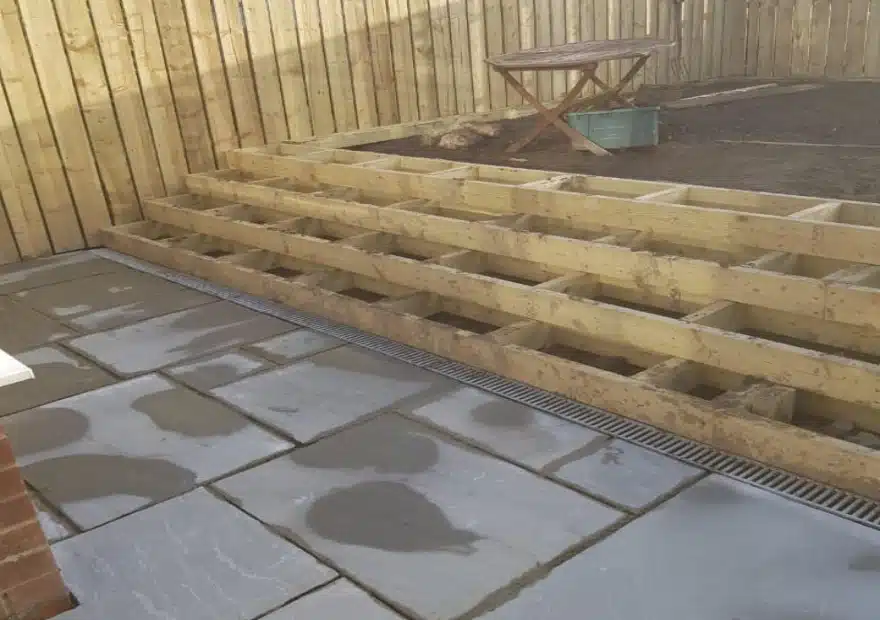
Step 5
Joists
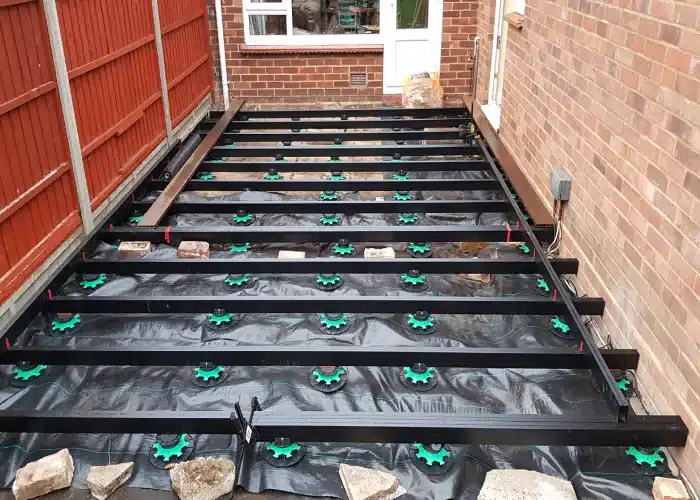
Once your posts are in place you can begin to install the rest of your substructure that will support your decking boards. You can now attach your joists, screwing them into the joist hangers.
Using a 300m joist centre, screw your joist hangers to attach your joists to the posts. If you are using composite joists, you must leave a 10mm gap between each joist to allow for thermal expansion.
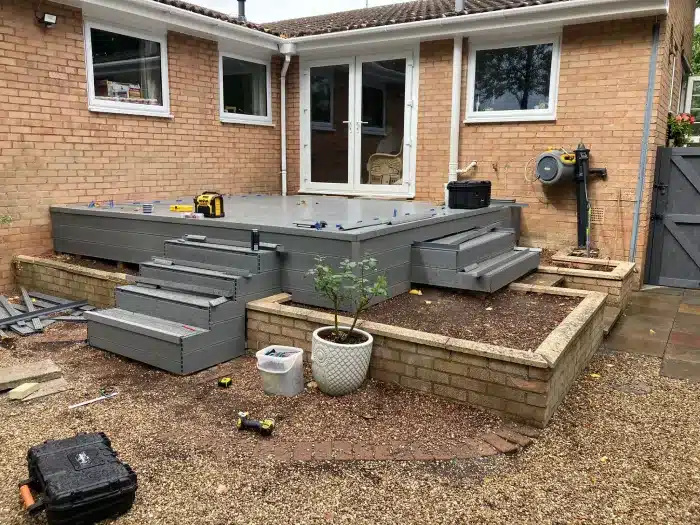
Step 6
Steps
If you are adding steps or stairs to your raised decking, now is the time to do so. The process should be completed prior to laying your decking boards, to be able to secure any step stringers to the decking.
Pre drill your step stringers at a 45 degree angle into the subframe structure, using joist hangers to screw them into place. Attach the joist hangers to the stringers by drilling through them.
Once your stringers are fitted you can lay the decking boards of your choice. If your boards are timber, you can screw them down with a drill. If you have solid or hollow decking composite boards, you can utilise hidden fasteners to stabilise the boards to the stringers. It is not advised to drill into hollow boards, as this weakens the structural integrity of the boards, making them more susceptible to damage and breakage.
As well as stringers you can build box frame steps, which are constructed during the installation. Box frame steps are preferred by some installers as they can build to spec and to the boards width as they go along. Please see image below for an example.
Additionally, you can add a fascia to the sides of your steps for aesthetic value, to hide the edges of the boards.
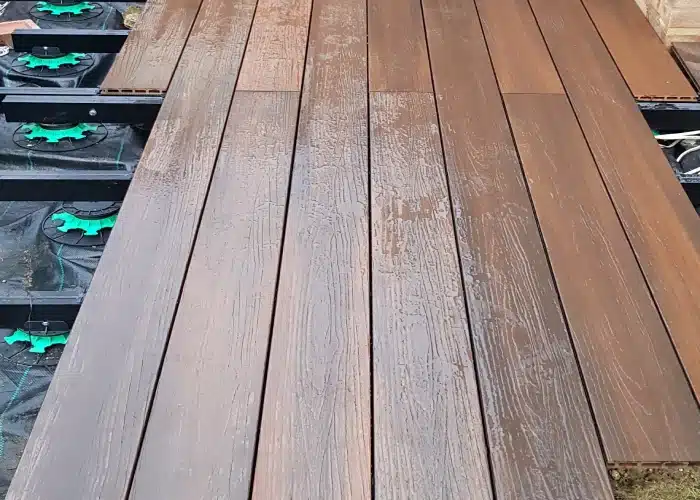
Step 7
Lay your decking boards
Now that your substructure that will support your decking is completed, you can begin to lay your decking boards on the frame.
After this point the installation process is the same as with a ground level decking. For a more in-depth installation process once at this point, read our article on laying composite decking boards. Laying composite decking boards is easy and quick, you will need to start the process using starter clips and then change onto hidden fasteners for the entirety of the decking. Once all your boards are down, you have completed constructing your raised decking.
By following the above steps, you can successfully install your own raised decking. It is important to ensure safety is your main priority throughout every stage of the process, ensuring you are wearing protective equipment when using tools or machinery. Remembering that if you are unsure about any part of the installation process, you can contact your board supplier or hire a professional to complete the job for you accurately.
If you are building a raised decking on a sloped landscape, this is more difficult, as the structure needs to be completely accurate in order to be structurally sound. Read our article on building on a sloped garden.
- Share:
-

-
-
Next Article
How to Build Decking on a Slope